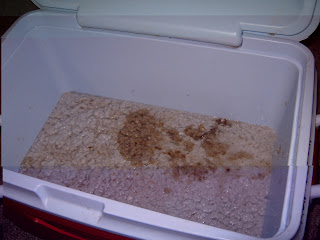
Step One:
Add any color (not food coloring... natural colors from herbs or plants work best) or scent, if desired, to the paper pulp. I added Gardenia scented oil to this batch of pulp.
Step Two:
Using your frame (a picture frame with screen instead of glass will do, as long as the screen is tight), pick up a good amount of pulp.
Step Three:
Strain out the excess water and let drip for a little while over the container of pulp. Use either a large sponge or your hand to press the pulp into the frame while the water is dripping out. When the pulp inside the frame is just very wet and no longer dripping, flip the frame over onto the drying area (either a towel laid out flat or a large screen raised up on saw horses or something) and gently encourage the wet pulp to fall out of the frame and land flat on the drying area.
Step Four:
Press the rest of the moisture, that you can, out with a towel. Now is the time to add any embellishments to the paper... pressed, dried flowers are what I used. Let the pulp completely dry before removing (this can take a few days) and Voila! you have handmade, textured paper. :)


No comments:
Post a Comment